Web Scraping: Using Beautiful Soup in Python to Scrape Websites
Learn the beautiful art of scraping websites with Python
So you mean I will actually be stealing data from the web?!
Ermmm….I wouldn’t call it stealing though; okay, let me break it down for you.
Web scraping is an act that involves fetching website-constructed data using some Python tools for personal or public use. These tools help us access data and pull out the necessary information we need. But you ask, is web scraping legal?
Web scraping has been ruled legal, and python bots are allowed to crawl websites to fetch data from them. However, there are websites with strict policies that prevent bots from scraping their hard-earned data, an example of which is LinkedIn.
But how do we scrape data from the web? In this article, we would focus solely on a tool called beautiful soup that allows us to scrape and fetch data from the web.
Installing and Importing Beautiful Soup
Go on and install the beautiful soup package with the “pip install bs4” command on your terminal, and import this module with this line of code.
from bs4 import BeautifulSoup
Next, we would use our neighborhood-friendly website, Google, as a template for this article. Let’s search for articles on web scraping using the keyword “what is web scraping” and we would scrape our data from this webpage. Create a new folder on your Vscode or any other IDE and name this project “Google-web scraping”. Create a main.py file where we would perform all our coding exercises.
In your main.py file import the bs4, requests and lxml packages with these lines of code
from bs4 import beautifulsoup
import requests
import lxml
If you don’t have this package installed, run the “pip install package-name” on your terminal. Afterward, copy the link from the Google webpage and save it as a string under the variable name URL.
URL = "https://www.google.com/search?q=what+is+webscraping&rlz=1C1CHBF_enNG971NG971&oq=what+is+webscraping&aqs=chrome..69i57j0i10i512l9.6179j0j7&sourceid=chrome&ie=UTF-8"
Let's pause a bit.
Various websites have strict policies when it involves scraping their data, which requires scrapers like us to authenticate our browsers while some don’t. To be on the safe side, always ensure to authenticate your browser using the header tag by visiting myheaderhttp.com and fetching your User-Agent and Accept-Language data. Enter this User-Agent and Accept-language data in a dictionary format under the name header.
header= {
        "User-Agent": "Mozilla/5.0 (Windows NT 10.0; Win64; x64) AppleWebKit/537.36 (KHTML, like Gecko) Chrome/110.0.0.0 Safari/537.36",
        "Accept-Language": "fr-FR,fr;q=0.9,en-US;q=0.8,en;q=0.7"
        }
If you recall, the requests package is used to fetch and post data from or to a live website. In our case, however, we are fetching data, hence, we use the .get() method to pass in both the URL and header and save it into a response variable.
response = requests.get(url=URL, headers = header)
We get this website content or text by calling the .text method on our response.
feedback = response.text
Printing out the feedback displays the HTML structure of this website. But there isn’t much we can do with this data, so what next?

To scrape and fetch data from this website we need to create an object from our BeautifulSoup class that would be used to extract text and tags when we call methods on it.
For today’s project, we will scrape this webpage to obtain the name of each article and their respective links.
Generate an object from the beautiful class and call it soup, pass in the feedback from our request and an HTML parser that would parse through the text and scrape the data we want from it.
soup = BeautifulSoup( feedback, “lxml”)
Printing out the variable soup will also produce the entire layout of the website. In this format, we can move to extract the data we need from it.
Scraping Methods in Beautiful Soup
Before we move on with our project, we are briefly going to discuss some of the methods we would use to scrape data from this site.
- The find_all() method
This method takes in an input of a name and an attribute. The name represents the particular HTML tag where our required data is embedded, and the attribute represents either a class, an id or other unique identifiers residing in that HTML tag. Find_all() skims through the whole HTML code and looks for every instance and appearance of that tag with the specified attribute. It returns a list with all occurrences of that particular HTML tag as output.
- The find() method
This on the other hand performs the same function with the find_all() but only locates and returns the first instance/appearance of the tag.
- The get() method
This is used in getting a particular value attached to an attribute, like a link embedded in an href attribute by simply calling soup.get(“href”) which outputs the link.
- The getText() method
This on the other hand is used to get the text in between a closing and opening tag. e.g. <span class="abyss"> the paradise of passion </span> calling the .getText() method on this particular span attribute, prints "the paradise of passion."
- Select_one()
This is a more intense driller that zones in on hierarchical order of tags to find a particular tag. You would understand this better when we apply it in this article.
Locating our Tags and Attributes
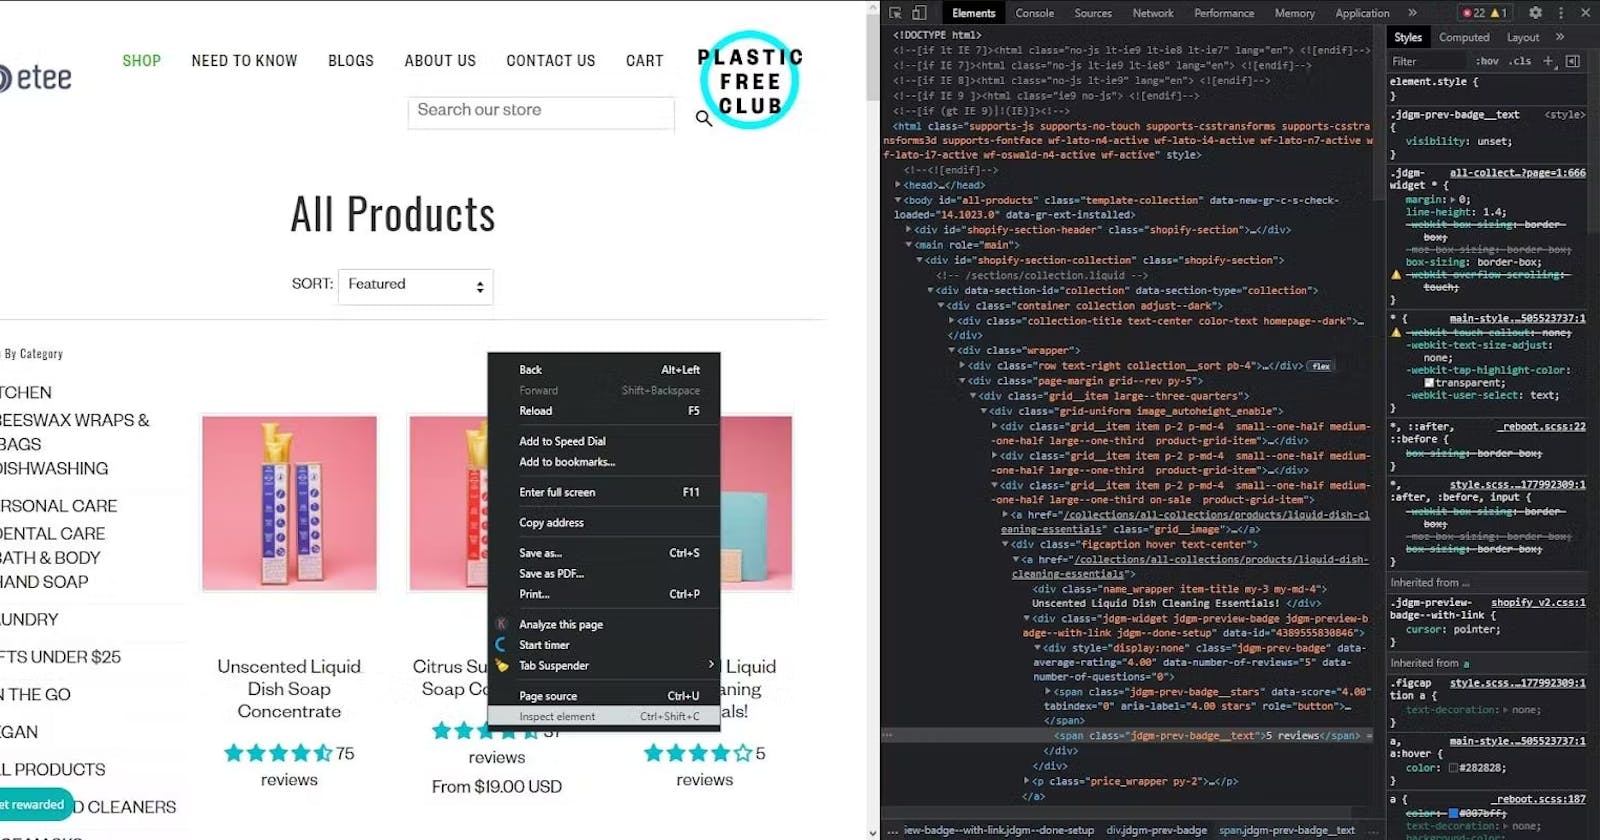
Now back to our project, we will take the first search result as our template. Go on your webpage and right-click on the title of the first article on that link, then click on inspect.
This immediately displays the HTML code of the webpage and highlights a particular tag in blue, signifying the placement of the tag where the title of the article is embedded.

Identify the tags involved and a unique attribute to them. The tag is that of h3 and has a unique identifier which is the class of "LC20lb MBeuO DKV0Md".
Finding the DIV Tags
Now let’s step back for a second and analyze this. We are trying to get both the article title and link, now if you look closely at the code, you will notice there is a div tag that has both the link tag and article tag name embedded in it right?

if we use a second article as a template you notice that it shows the same class value for the div tag as above, with the article name and link embedded into it too.

Hence, we will use the find_all() method to fetch all the div tags with this attribute—fetching all the divs for the titles.
names = soup.find_all(name="div", class_="yuRUbf")
Please ensure you are following through. From our earlier definition, the find_all() returns a list of all the div tags with this class attribute.
Fetching our Article Titles
Next, we need to search through each div, from the div of the first article to the div of the second down to the last on this page to scrape our article titles. To accomplish this, we use the "for" loop to loop through each div in this list.
As this loop runs, we write a code to get the link and also the article name in this process. Now, let's head back to our webpage to find the tags and attribute each title and link is embedded in.
Taking the first article as a template, right-click on the title name and click inspect; this automatically highlights the tag where it rests, which is the h3 tag. Note: there might be many h3 tags in this article, but to get which uniquely identifies it as the article title tag, we would attach the class attribute to it. Notice it also has the same class attribute as other article titles.
names = soup.find_all(name="div", class_="yuRUbf")

for article_name in names:
    title_tag = article_name.find(name="h3", class_="LC20lb MBeuO DKV0Md")
    print(title)
this outputs all the tags that have this h3 and class attribute. To further drill in to get the texts from the tag we call the .getText()
names = soup.find_all(name="div", class_="yuRUbf")

for article_name in names:
    title_tag = article_name.find(name="h3", class_="LC20lb MBeuO DKV0Md")
    article_title = title_tag.getText()
    print(article_title)
this prints out all the article titles.
Fetching our Article Link
Finally, let's get the links to each article. Scanning through the current webpage, we notice the link of each article is in an anchor tag embedded in the div tag we found. Here, we are going to apply the select_one() method.
If we are looking through to find a unique attribute we can see one that is very long and might not even be the same for each. So here we can apply the select_one() method that zones into the hierarchical order of the current div we are in and locates the tag we want, which in this case is the anchor tag <a></a>.
for article_name in names:
    title_tag = article_name.find(name="h3", class_="LC20lb MBeuO DKV0Md")
    link_tag = article_name.select_one("div a") #the function we focus on
    article_title = title_tag.getText()
    print(link_tag)
We are interested in just one thing; the link inside the href tag. Note: we can't use the getText() because we are looking to get the link in the href attribute and not the text between the opening and closing anchor tags. Hence, we use the get() method and pass in the attribute, and print it.
Here is the final code
import requests
import lxml
from bs4 import BeautifulSoup

 header= {
        "User-Agent": "Mozilla/5.0 (Windows NT 10.0; Win64; x64) AppleWebKit/537.36 (KHTML, like Gecko) Chrome/110.0.0.0 Safari/537.36",
        "Accept-Language": "fr-FR,fr;q=0.9,en-US;q=0.8,en;q=0.7"
        }

URL = "https://www.google.com/search?q=what+is+webscraping&rlz=1C1CHBF_enNG971NG971&oq=what+is+webscraping&aqs=chrome..69i57j0i10i512l9.6179j0j7&sourceid=chrome&ie=UTF-8"

response = requests.get(url=URL, headers=header).text
soup = BeautifulSoup(response, "lxml")
names = soup.find_all(name="div", class_="yuRUbf")

for article_name in names:
    title_tag = article_name.find(name="h3", class_="LC20lb MBeuO DKV0Md")
    link_tag = article_name.select_one("div a")
    article_title = title_tag.getText()
    link = link_tag.get("href")
    print(article_title)
    print(f"{link}\n")
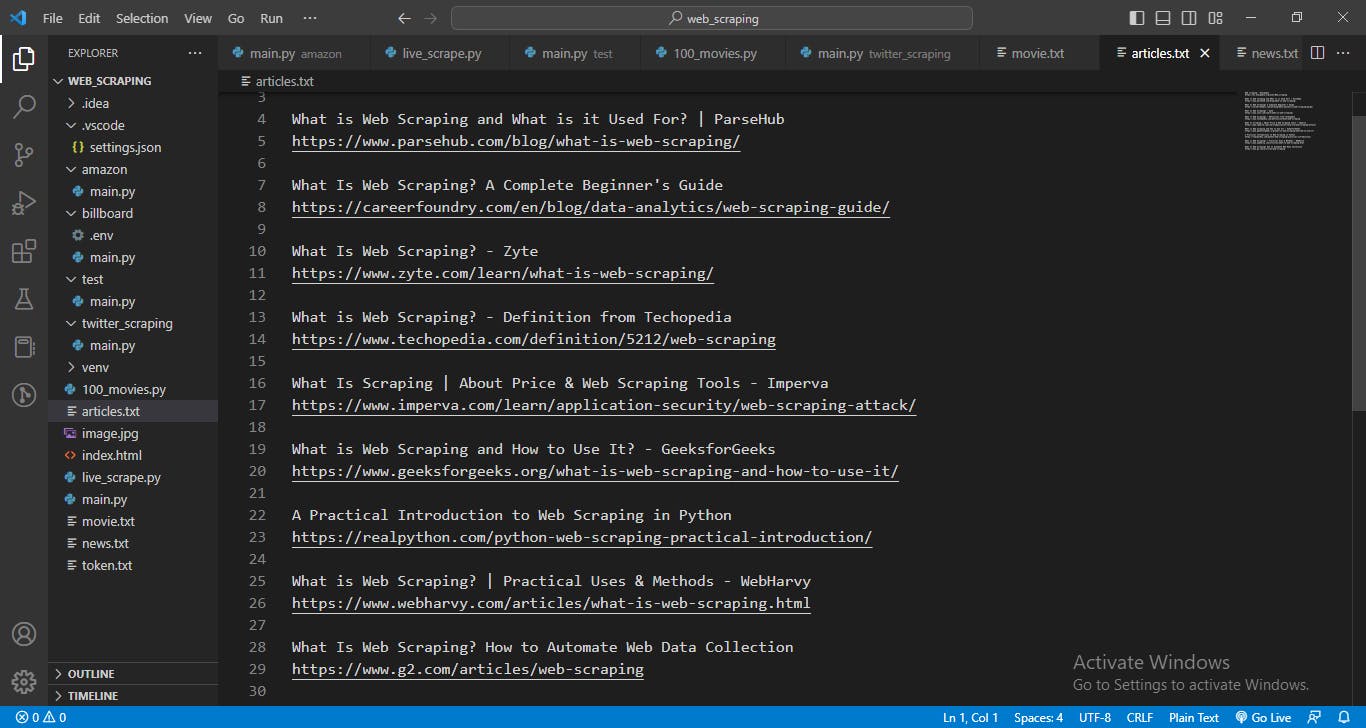
You can choose to further modify it, and write to a file numbering each article title with its link, it is totally up to you to modify it whichever way you want.

Here is a little coding challenge for you:
Scrape the Hackernews website and fetch, the news headlines, article link and total article upvote. Arrange your output in order.
Submit your running code in the comment section for others to see, and also comment on any possible questions you might have.
